matter: roots
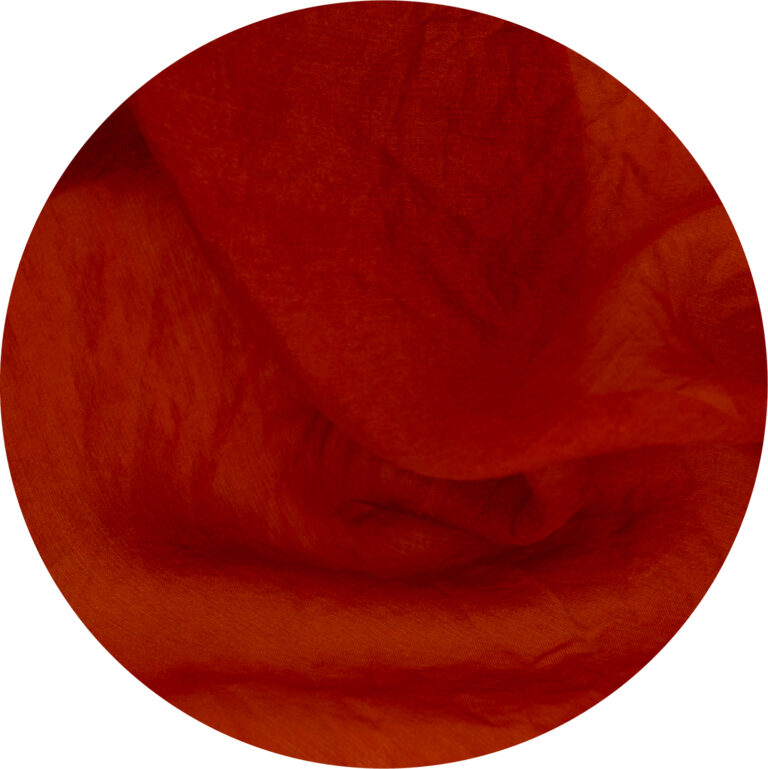
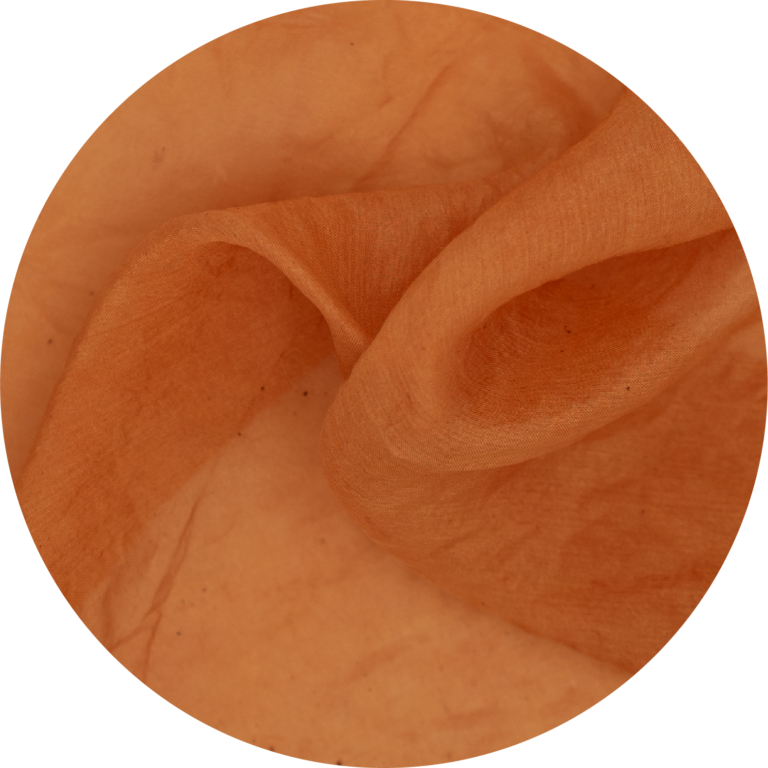
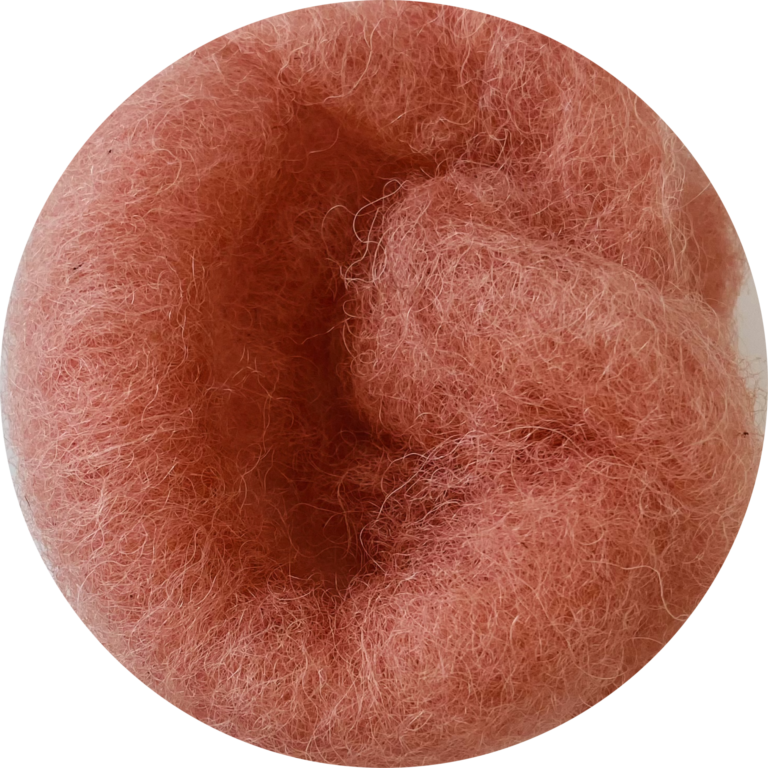
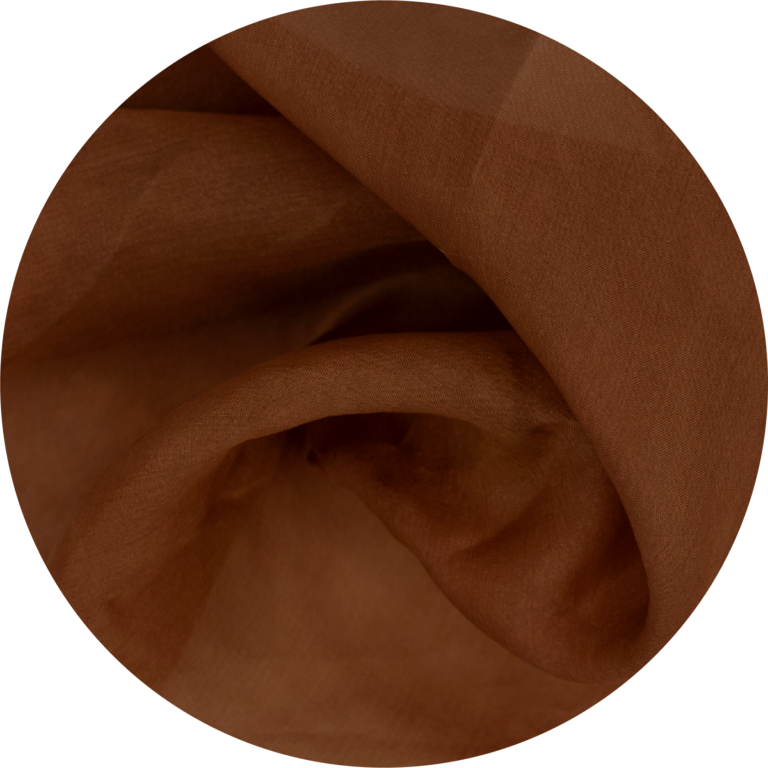
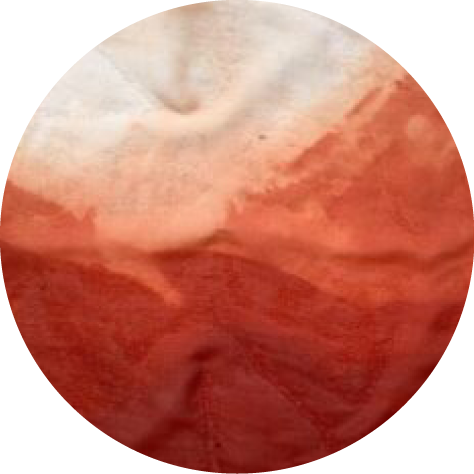
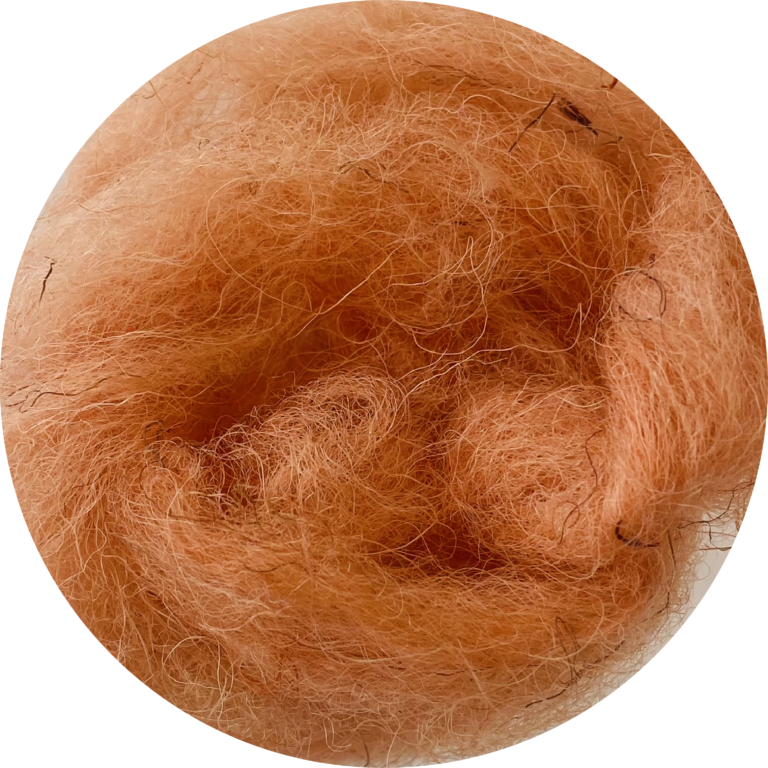
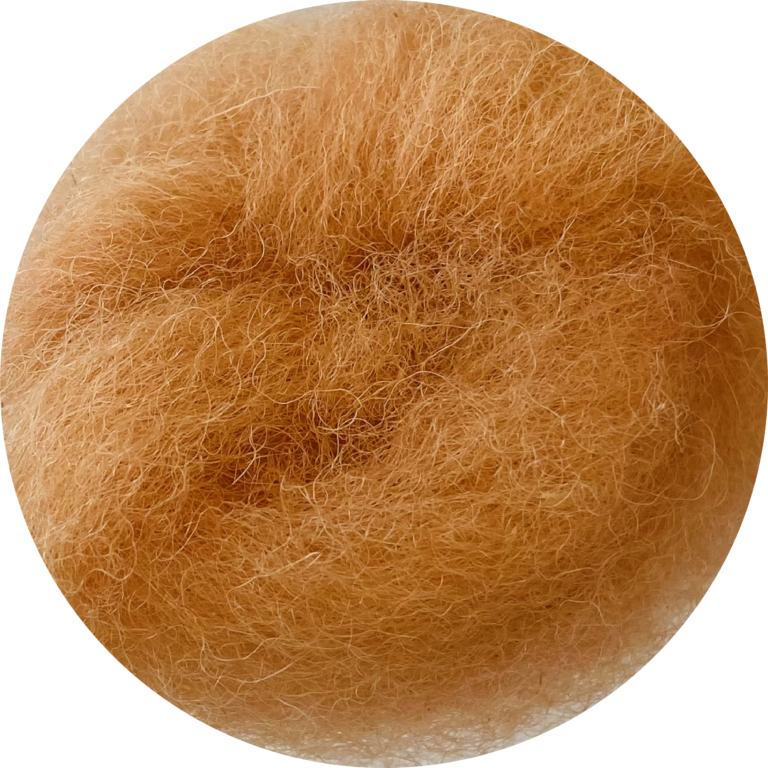
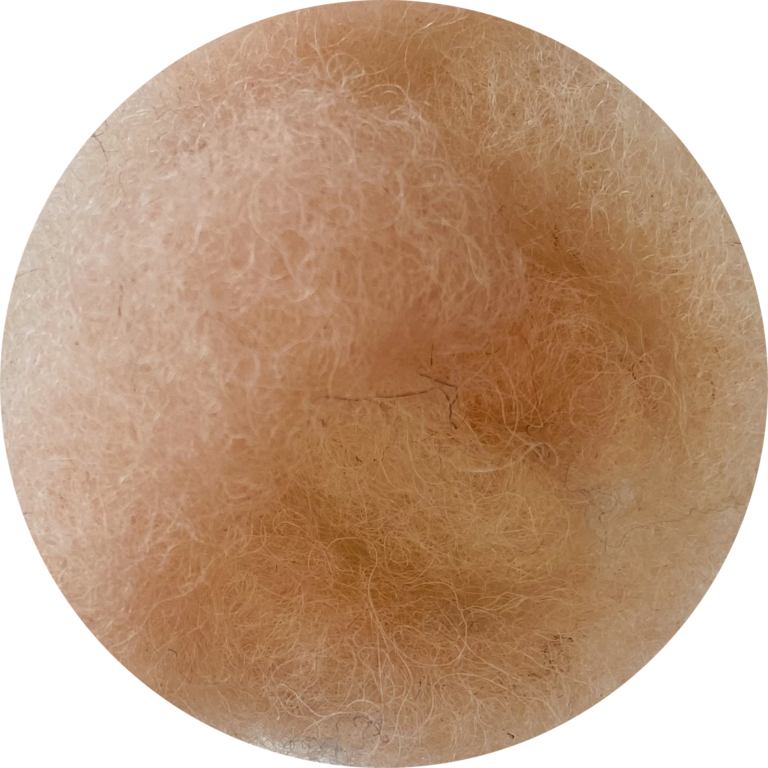
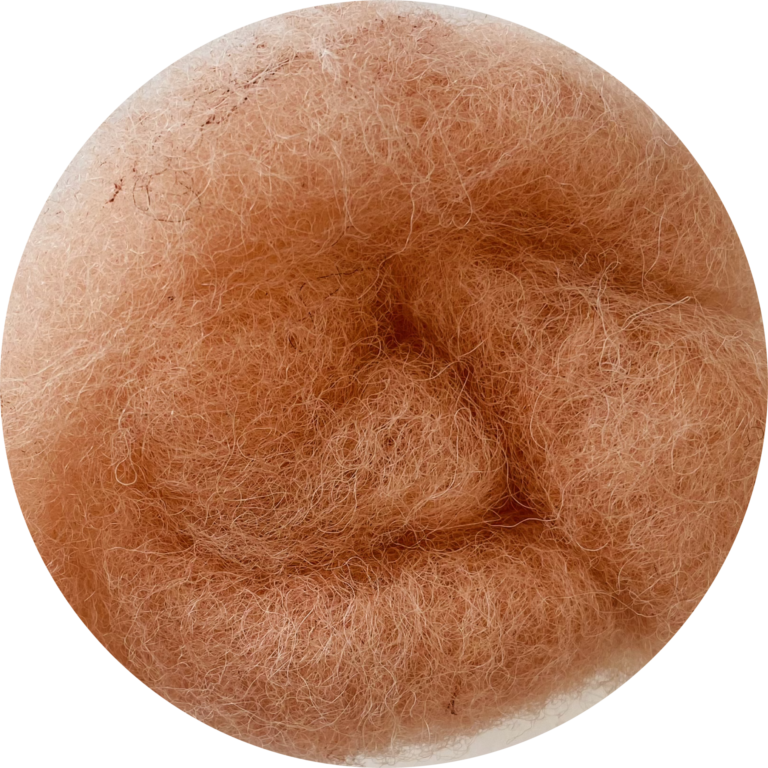
red | orange | pink | brown
matter: roots
red | orange | pink | brown
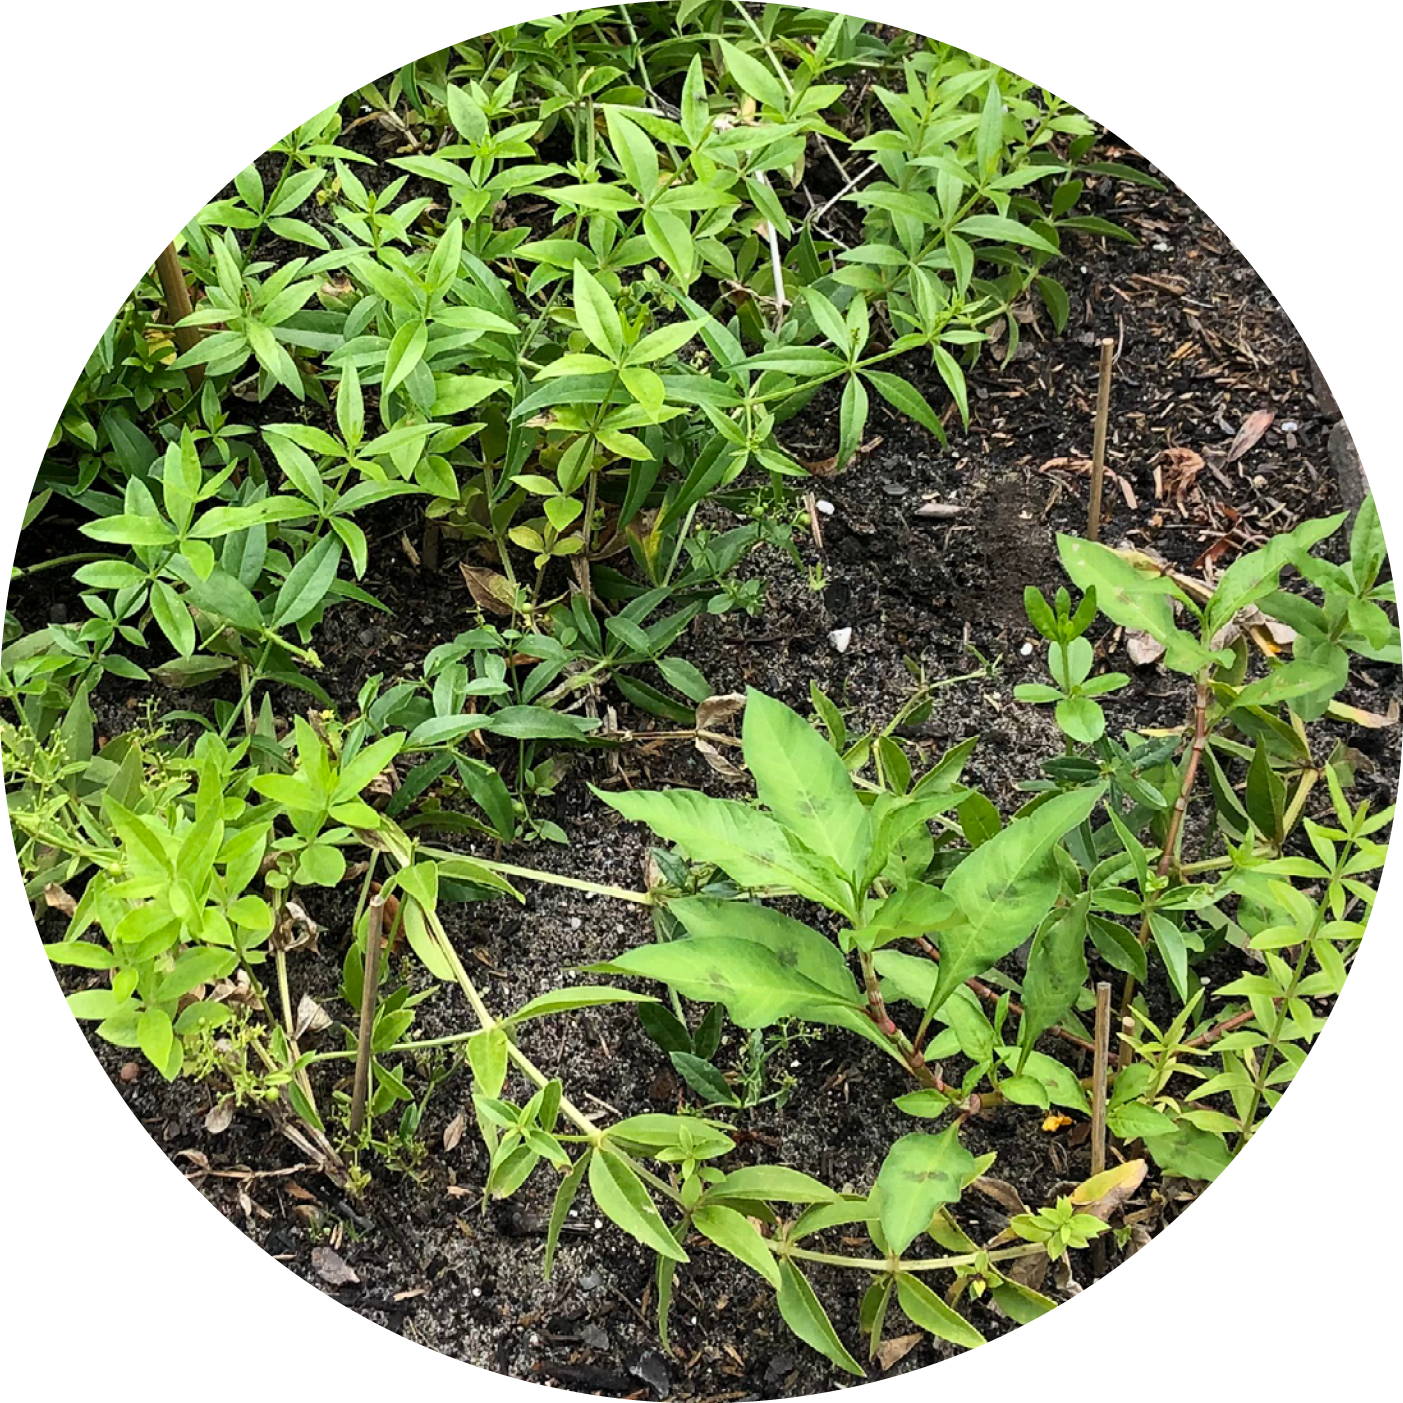
This plant is the root (literally!) of a vast array of red colors throughout history. Rubia tinctoria, often referred to as Madder or Dyer’s madder, has been used as a dye plant for thousands of years. The roots of the plant produce stunning ranges of red. As one of the most ancient dyes, the plant can be traced back to, amongst others, the Roman Empire and Norse burial grounds. Evidence of red madder pigments were even found in Tutankhamun’s grave, dating back over 3000 years.
In the Roman Empire, madder was the main source of red pigments and a lot of their knowledge about madder dyeing techniques was lost due to the decline of the Roman Empire and the subsequent migration of many nations. However, the popularity of the red color has shaped dyeing habits throughout the world and has left traces of red madder in all far corners of Europe.
The rubia tinctoria is native to Mediterranean areas of Southeast Europe and the Caucasus. It has spread almost all around the globe and used to be cultivated specifically for dyes in Central and Western Europe. Nowadays, the plant can be found in the wild and is spread by birds as they eat the berries of the plants containing plant seeds.
Following trade trends during the years 1600-1900, madder dyes were a common item throughout all of Europe. In the Netherlands and Flandern, the cultivation of madder was highly developed and because of the great growing conditions in the sandy soils, Dutch madder was considered some of the finest dye in Europe.
The latin name underlines the red dyeing attribute of this fine plant quite well – rubia refers to the red color of the roots while tinctoria is a common epithet for dye plants and refers to the latin word for dyeing or painting.
The plant needs to grow for at least three years for the roots to be big enough to harvest. Despite the long waiting time from planting to dyeing, madder is a quite sustainable dyeing option as this perennial plant enriches the soil as it grows.
planting period
early spring/ early autumn
when the weather is cooler and the plant can establish itself before extreme temperatures or frost
harvest period
September-November
Choose madder plants that are at least two to three years old. Younger plants may not have developed enough roots for a significant harvest.
pruning period
late winter or early spring
soil
pH 6-7
slightly acidic to neutral soil
sun
full sun to partial shade
water
aim for moderate and even soil moisture, allowing the top inch of soil to dry out slightly between waterings.
planting
0.3-0.6 cm deep
lightly covered with soil
45-60 cm apart
seed preparation
scarification: To help enhance germination, you scarify the hard surface of the Rubia tinctoria seeds This can be done by gently rubbing them with sandpaper or a fine file. optional
pre-soaking: After the scarification, you can soak the seeds in warm water for 24h to soften the seeds coat, allowing water to penetrate more easily. optional
germination
Fill small pots, using a well-draining seed-starting mix. Sow the scarified seeds on the surface of the mix, spacing them evenly across. Then lightly press the seeds into the mix.
Ideally cover the containers with a plastic wrap or dome to create a mini greenhouse effect, helping to retain consistent moisture during the germination process. (ideal temperature: 21 to 24°C). Remove the plastic covering once the seeds start germinating, preventing excessive humidity and reducing the risk of damping- off disease. The full germination typically takes 14 to 21 days
maintenance
protection from frost: Consider protecting young plants for the first winter by applying a layer of mulch around the plants base to protect them from freezing temperatures.
support structures: Rubia Tinctoria plants can grow up to 1,5m tall. Placing a support structure such as a trellise, stake or fences, can really help your plant reach its full potencial.
pruning: Trim back any excessively long or straggly branches to maintain a compact shape and promote growing.
root harvest
Carefully dig around the base of the madder plant, about 15-30 cm away from the stem and 30-45 cm deep to access the main root system. Gently lift the root system out of the ground. Use pruning shears or a knife to cut the roots away from the main root system. Leave at least a third of the roots intact in the ground if you want to allow the plant to continue growing.
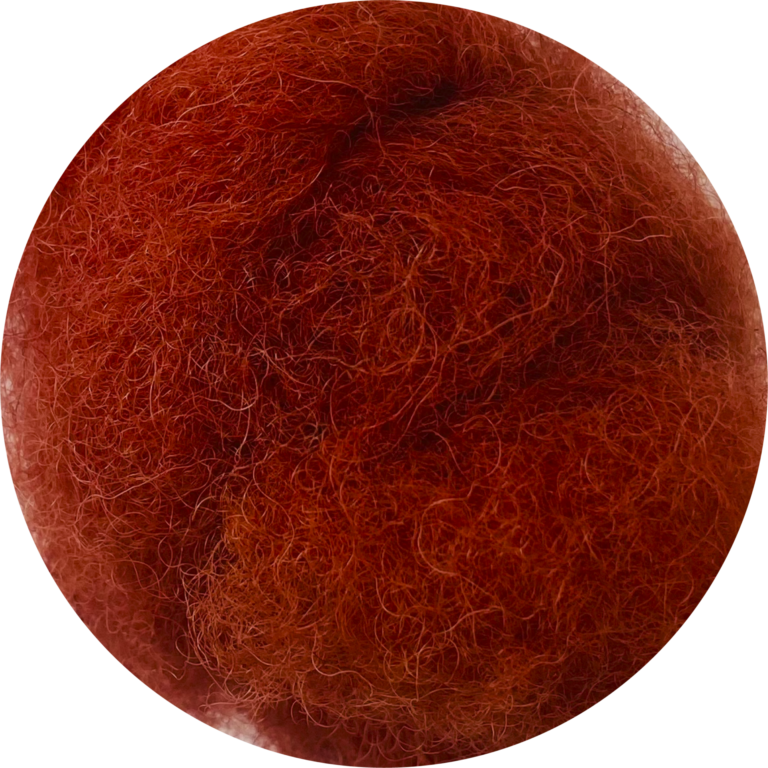
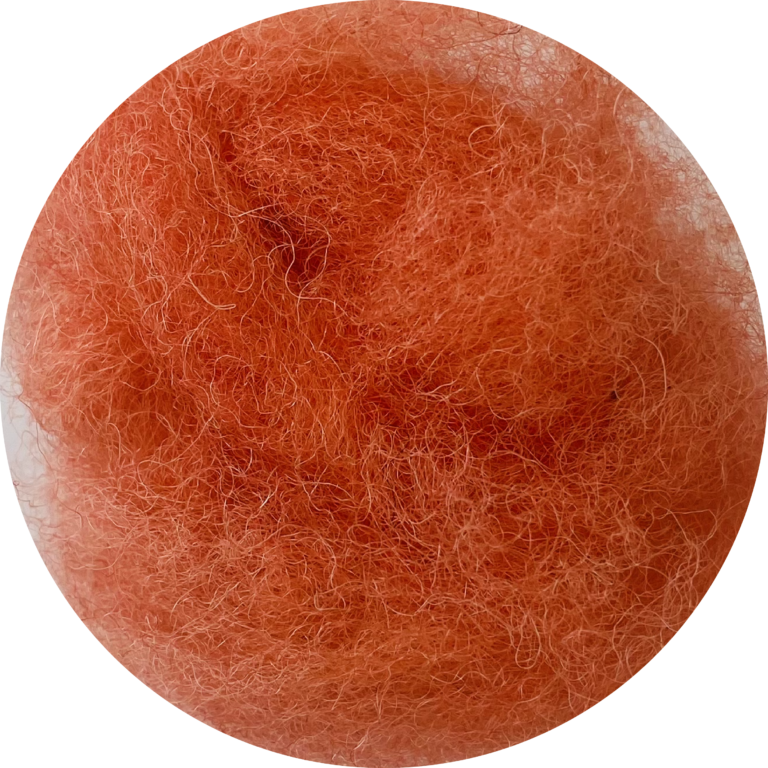
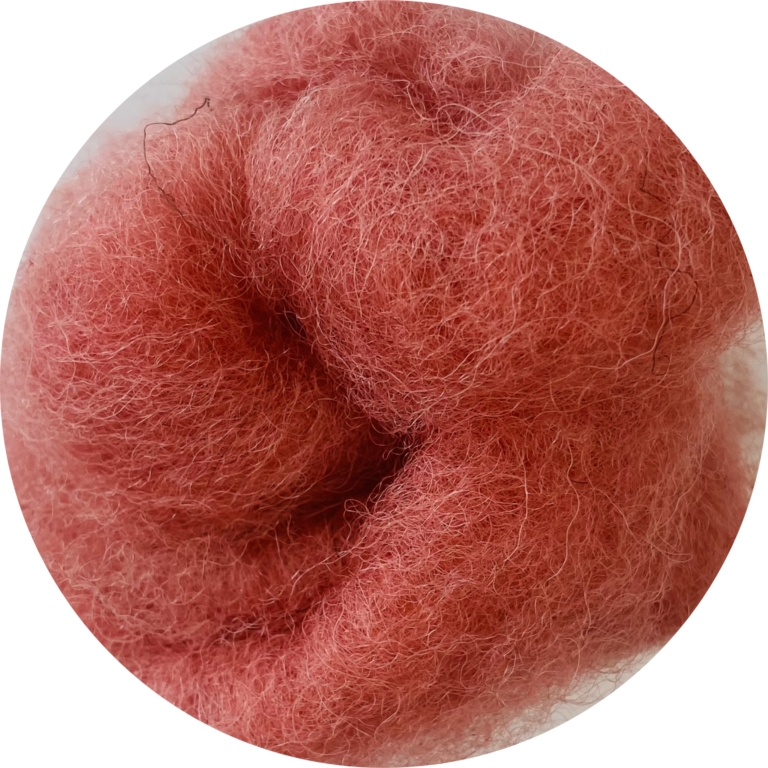
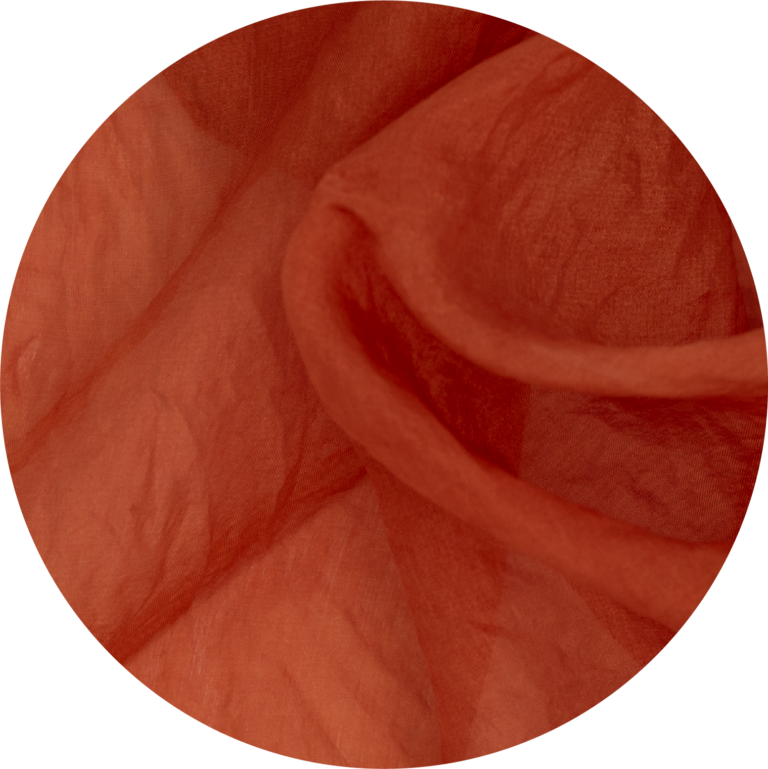
alum, pH <7
alum, pH <7
alum, pH <7
alum, pH <7

alum, pH <7
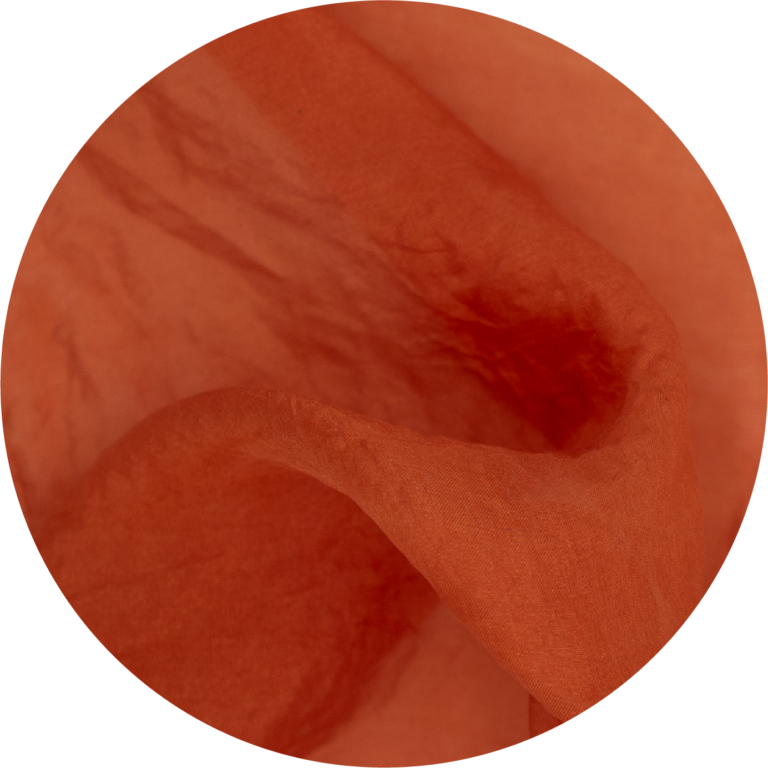
alum, pH >7
alum, pH >7
alum, pH >7
alum, pH >7
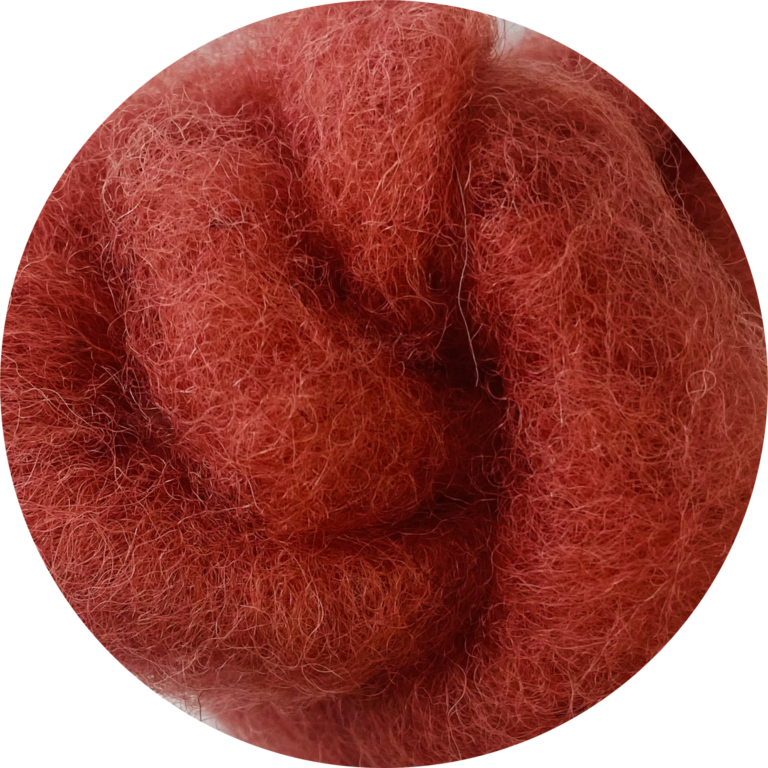
alum, pH >7
alum, pH >7
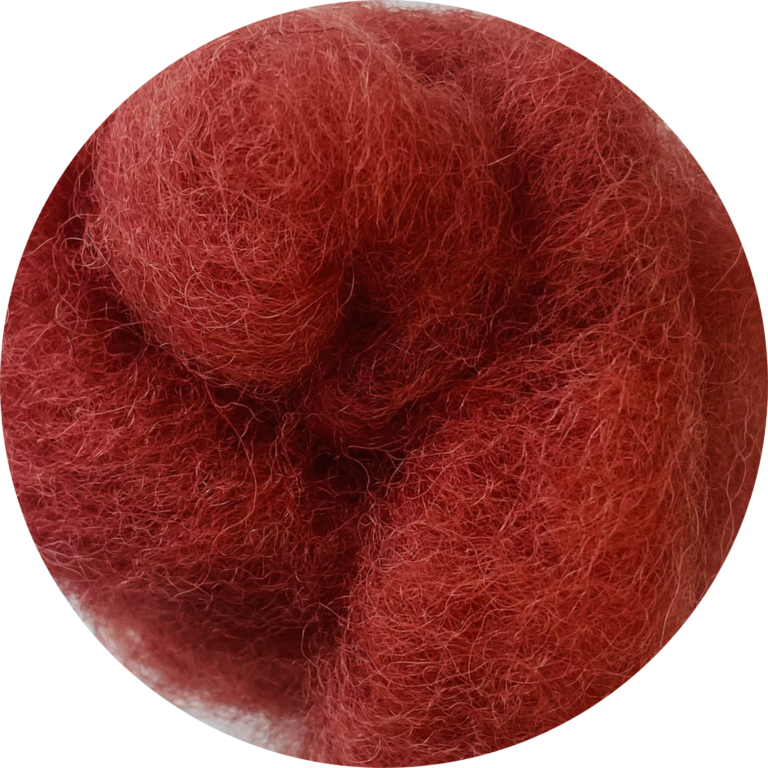
alum
alum
alum
alum
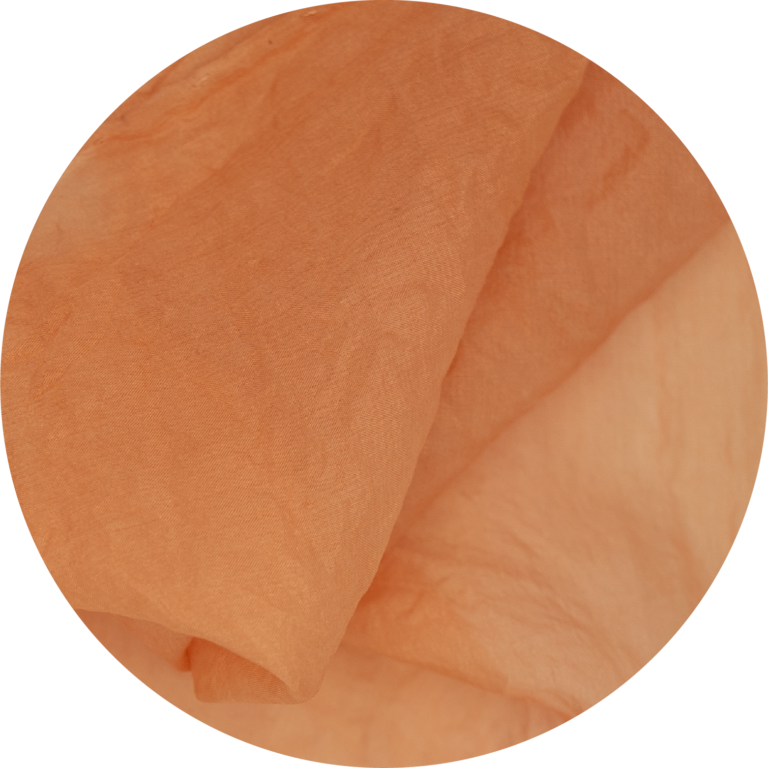
alum
alum
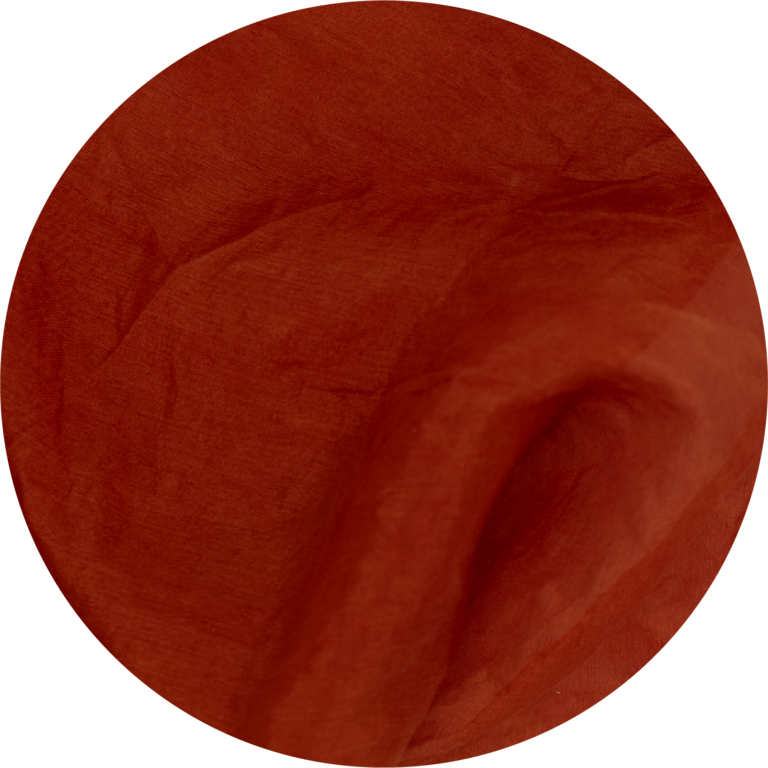
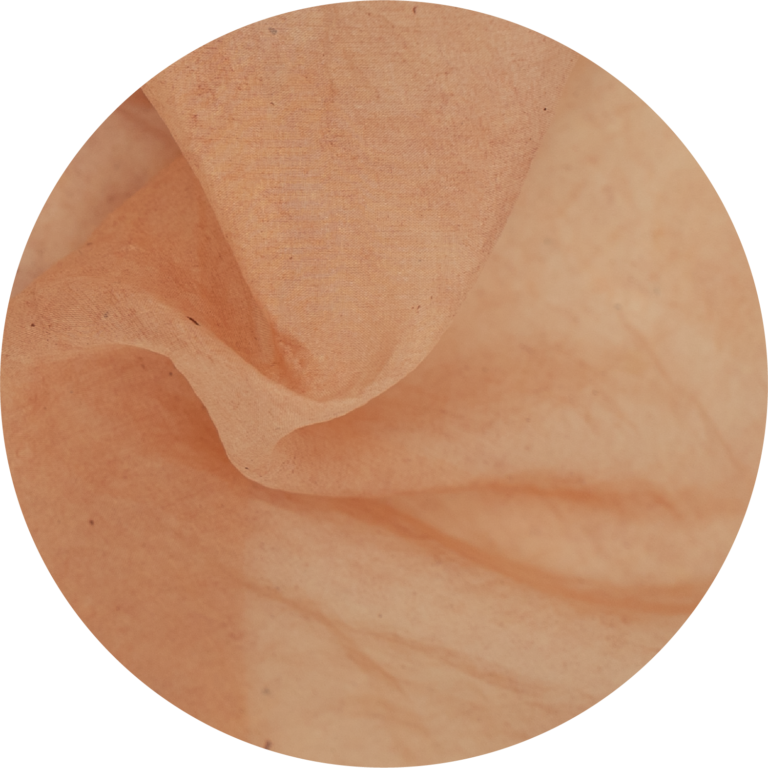
alum, boiled bath
alum, boiled bath