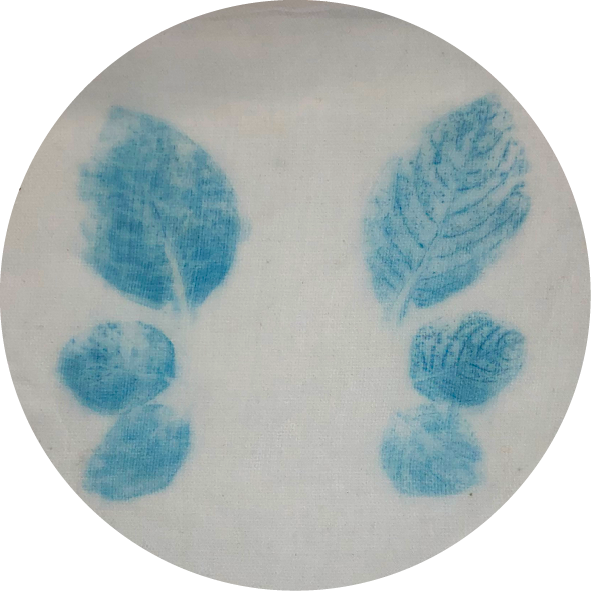
matter: leaves
blue | yellow | pink

matter: leaves
blue | yellow | pink
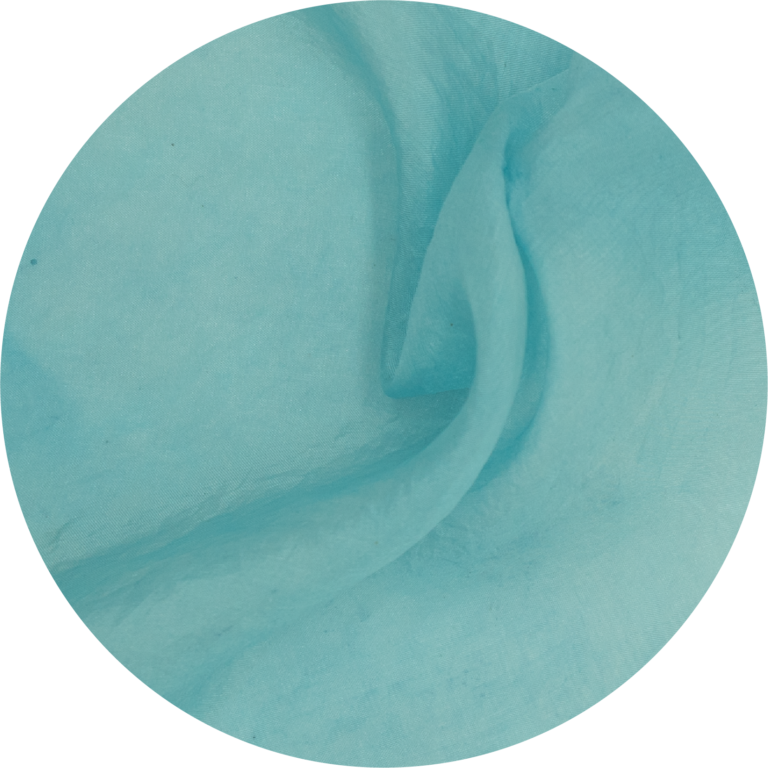
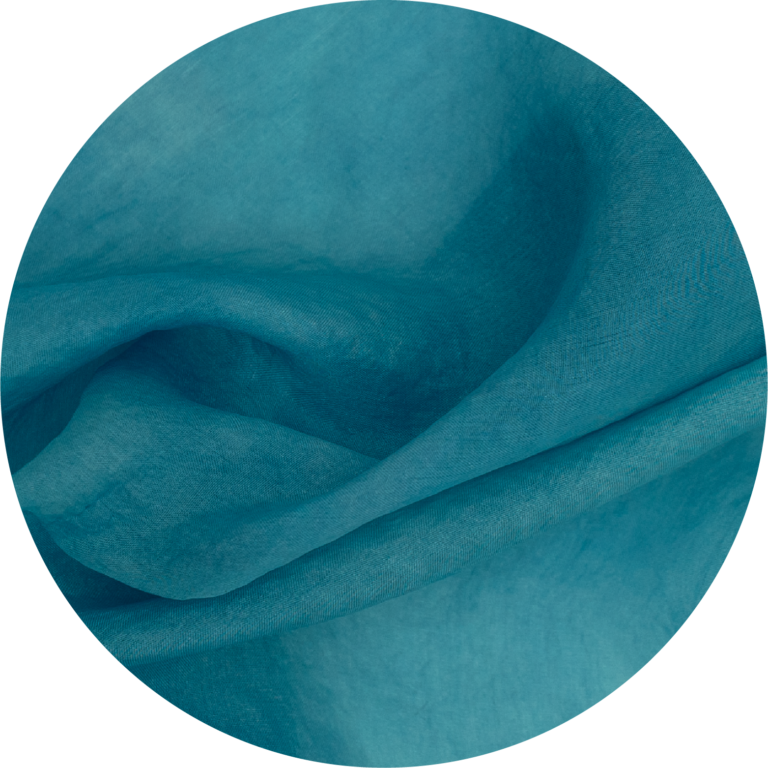
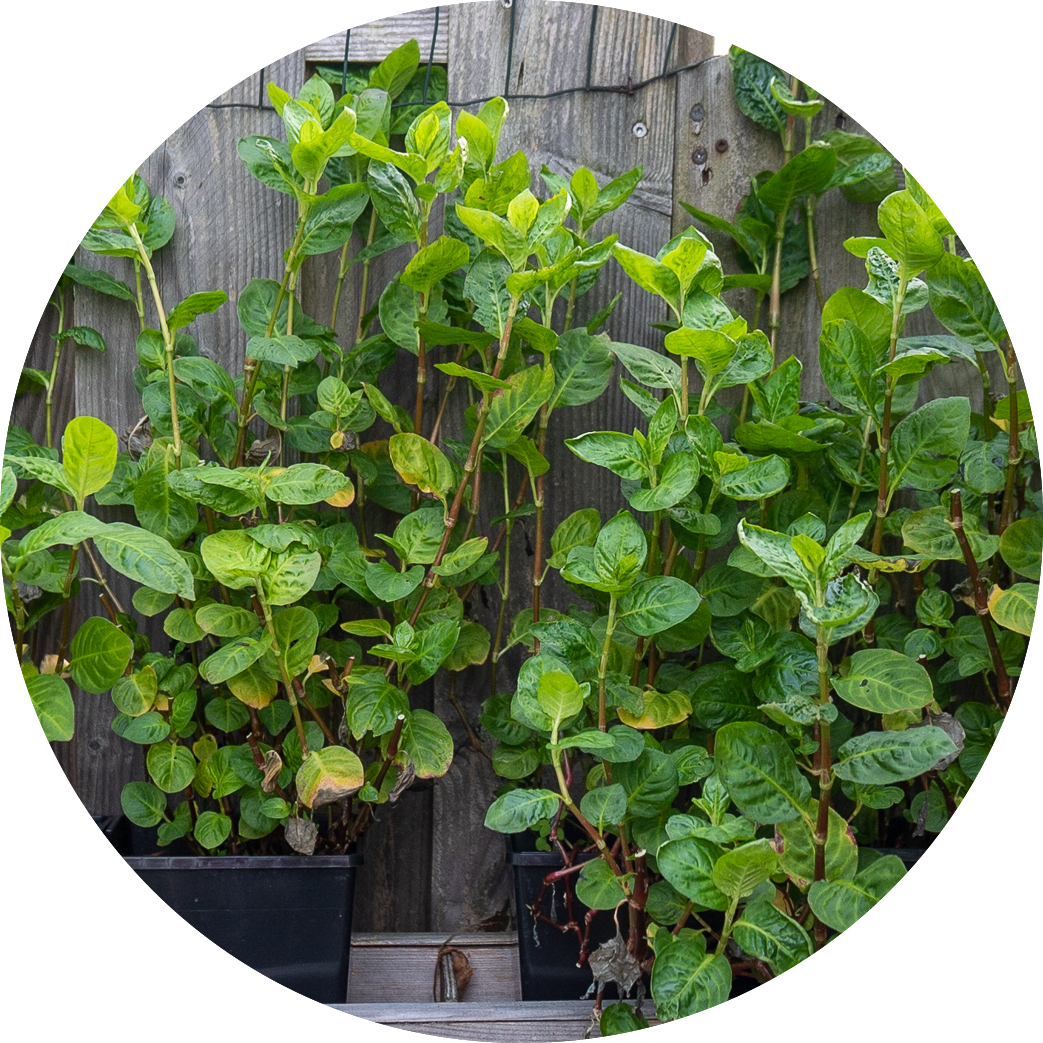
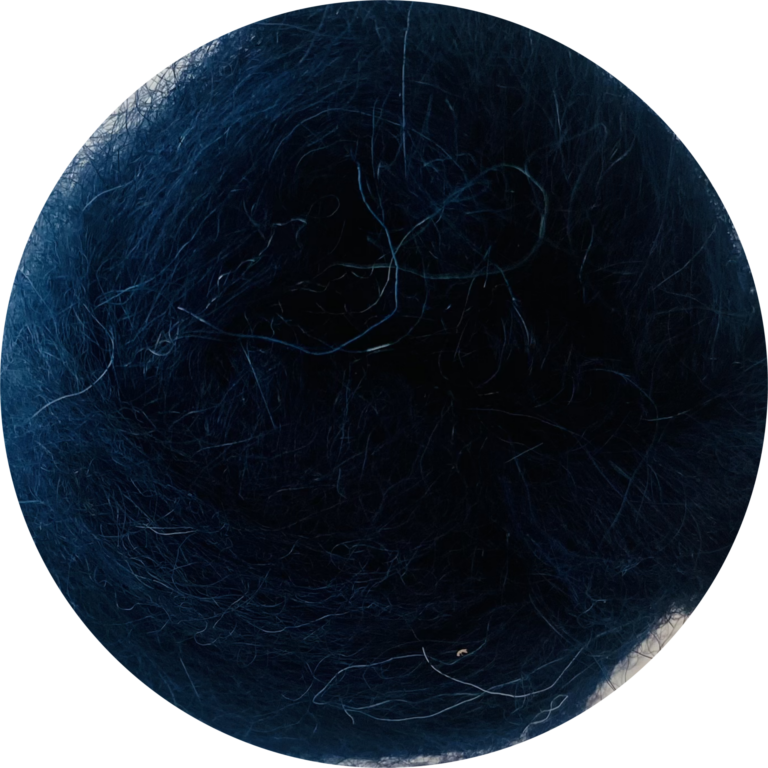
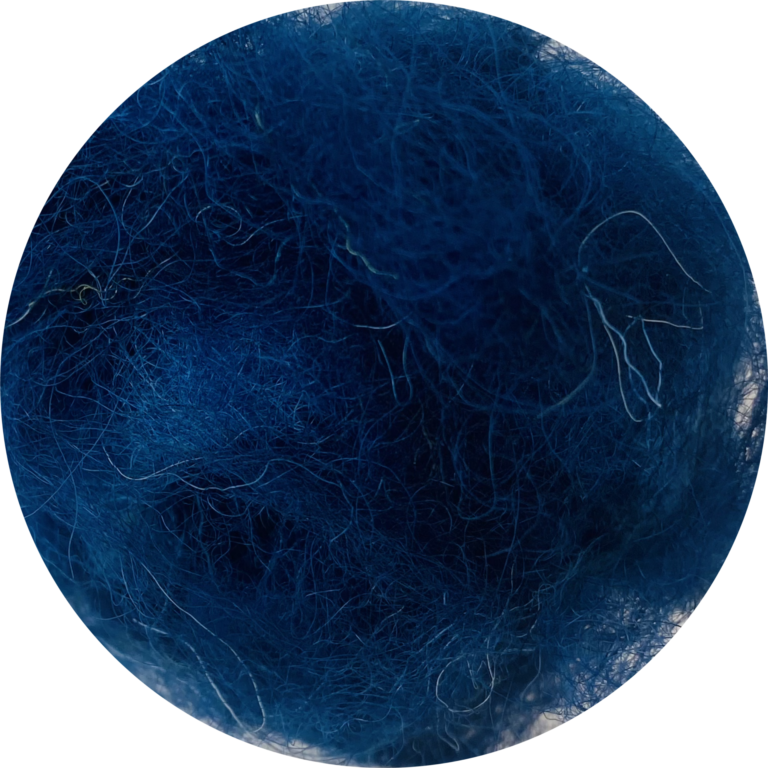
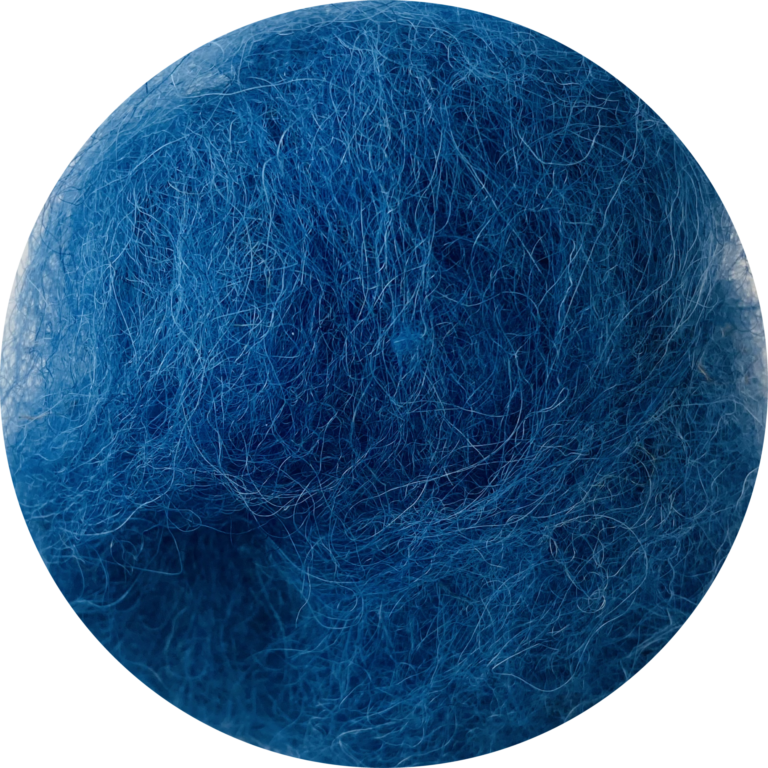
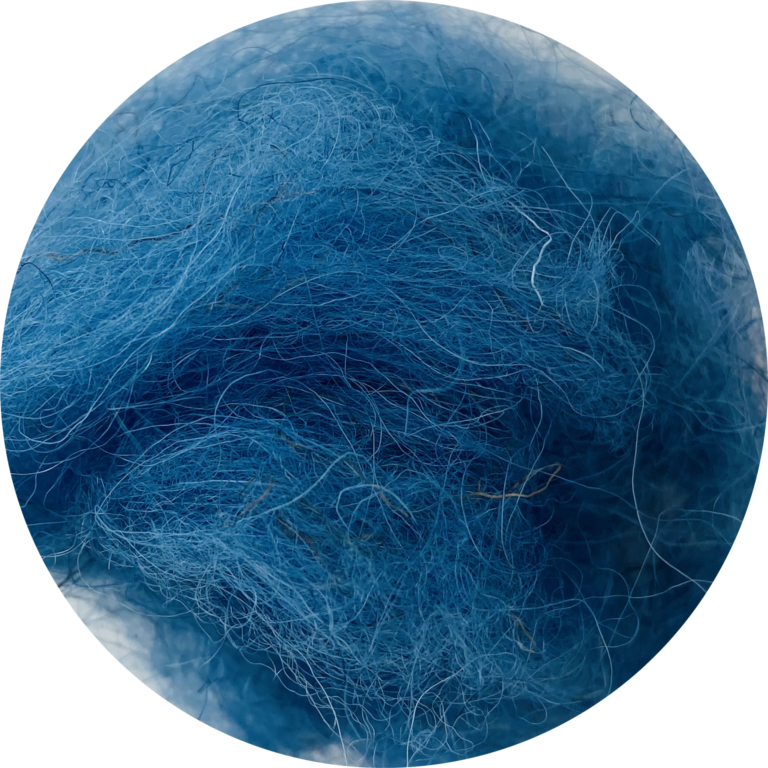
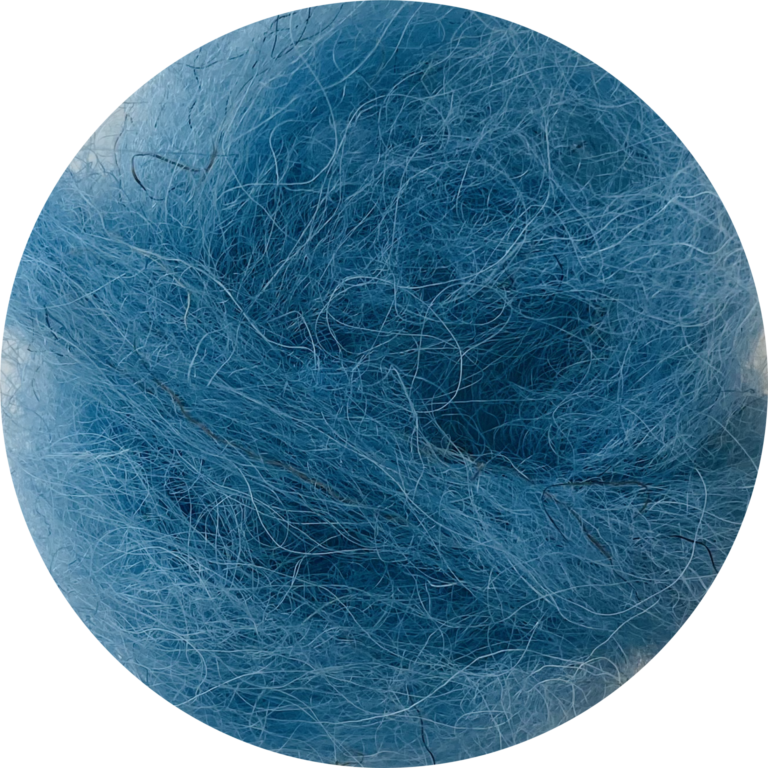
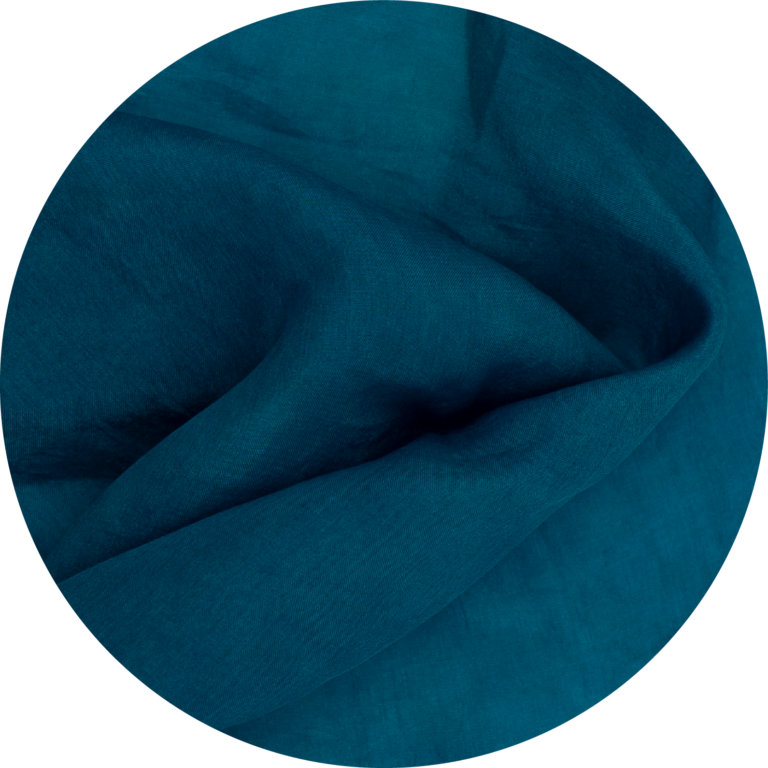
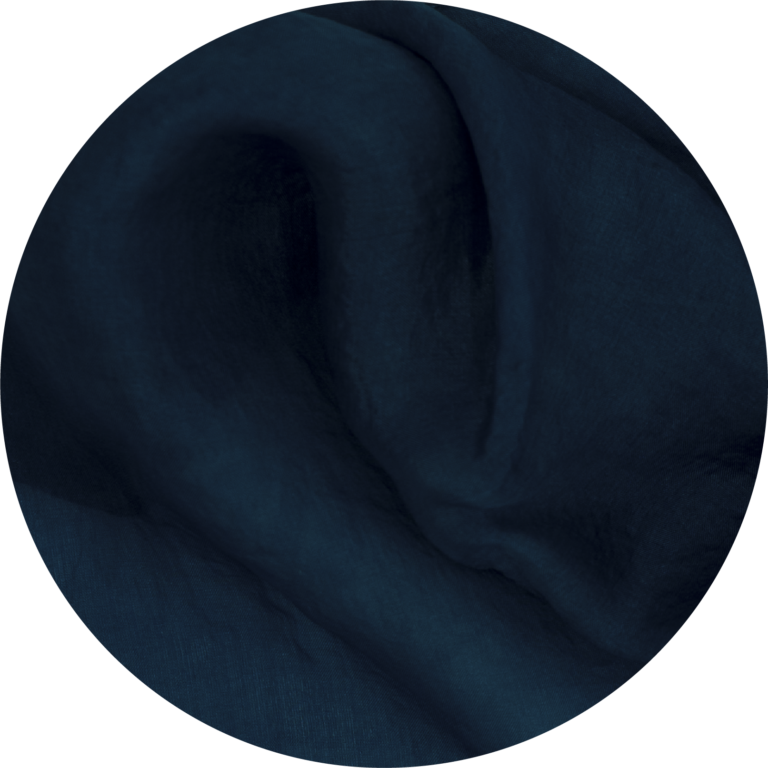
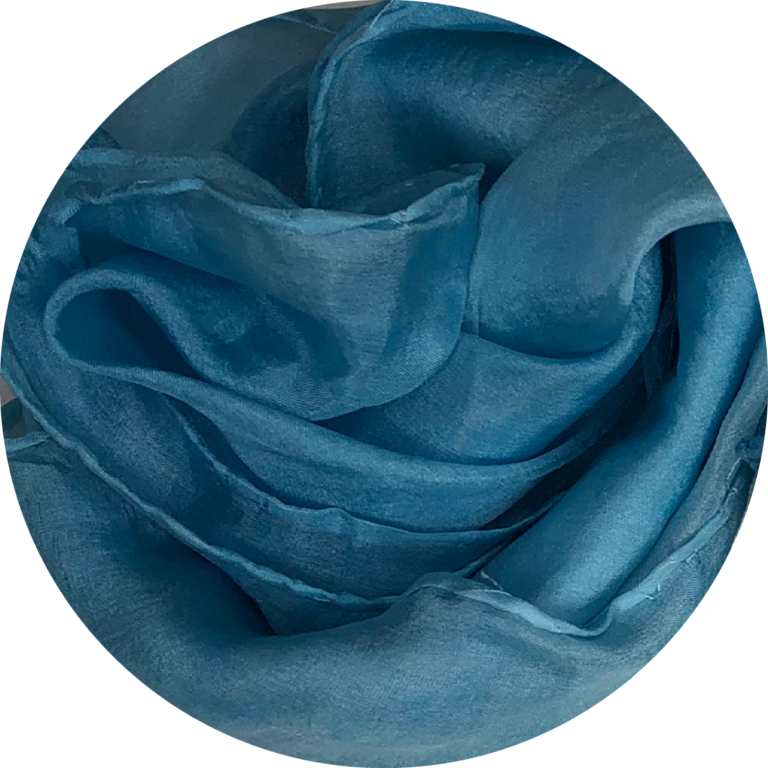
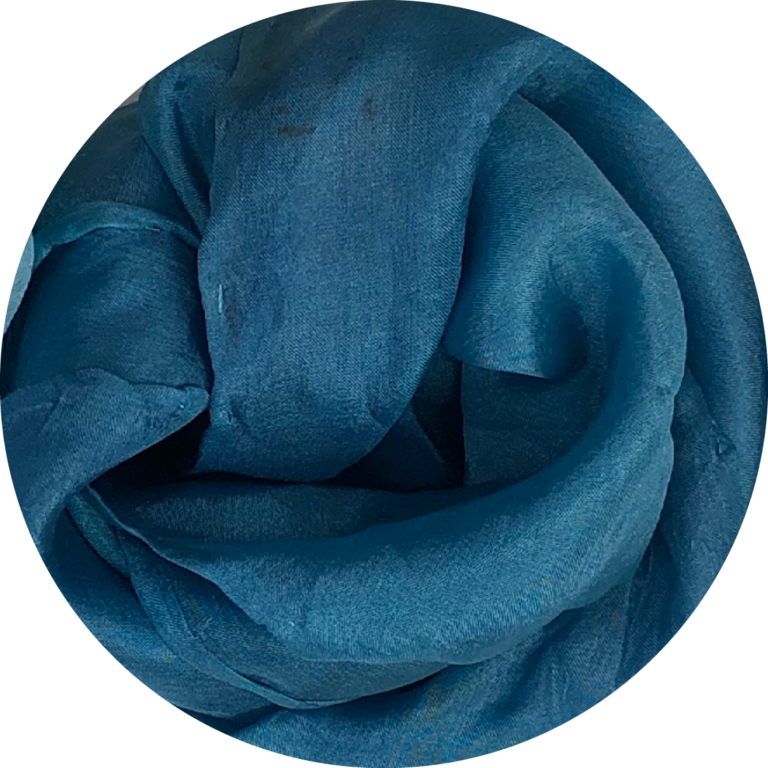
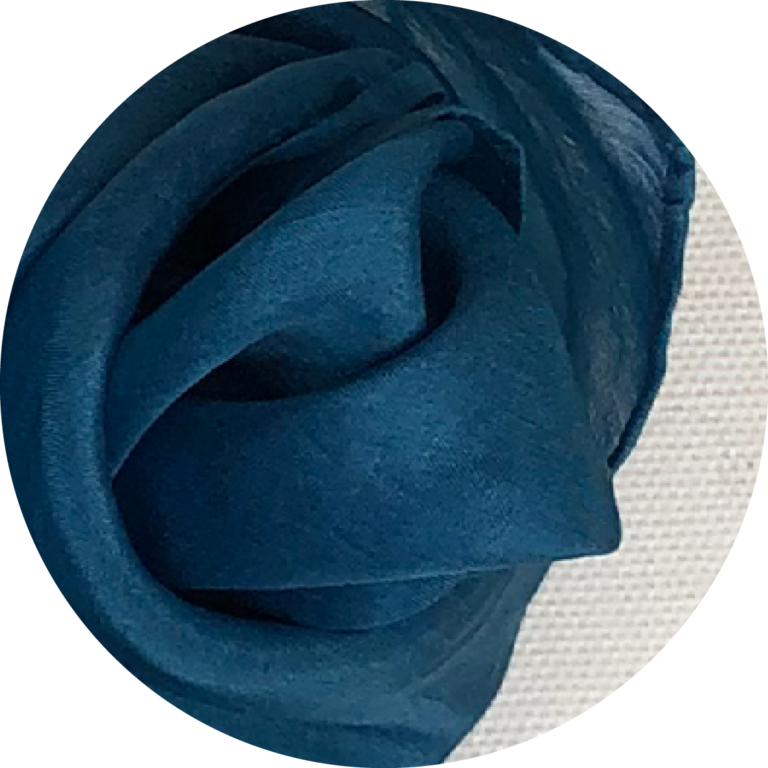
This lush, green plant with its large leaves and long stem may not initially look like a main character of the natural dye rainbow but there is more to it than what meets the eye. Known as Japanese indigo or Dyer’s knotweed, it has made quite a name for itself by producing the remarkable, deep indigo blue.
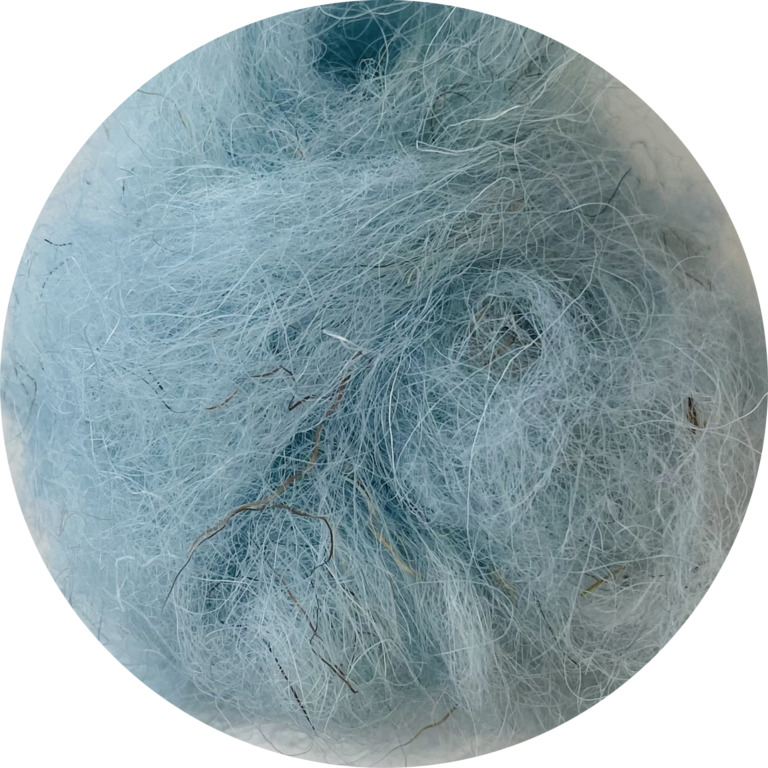
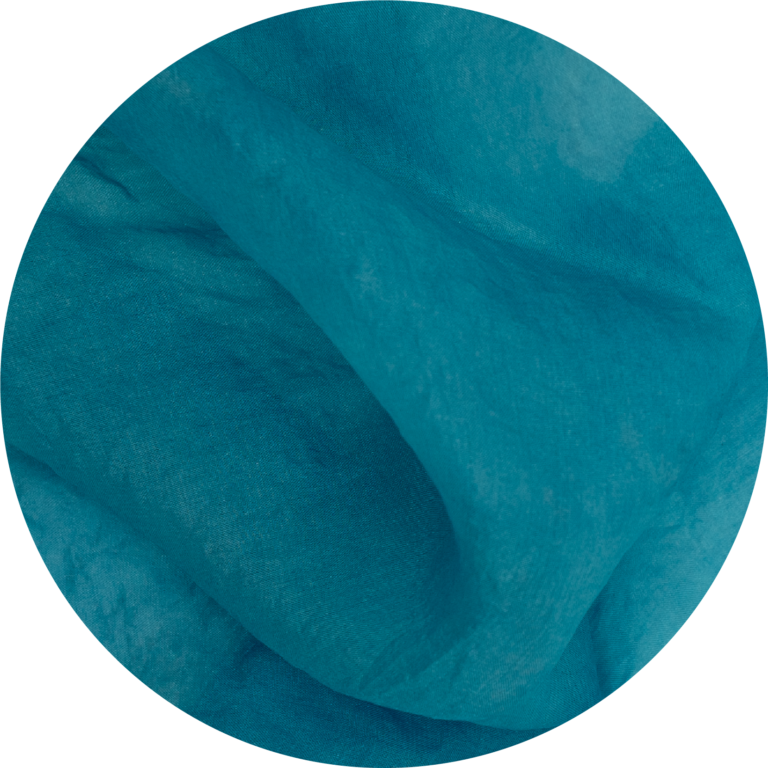
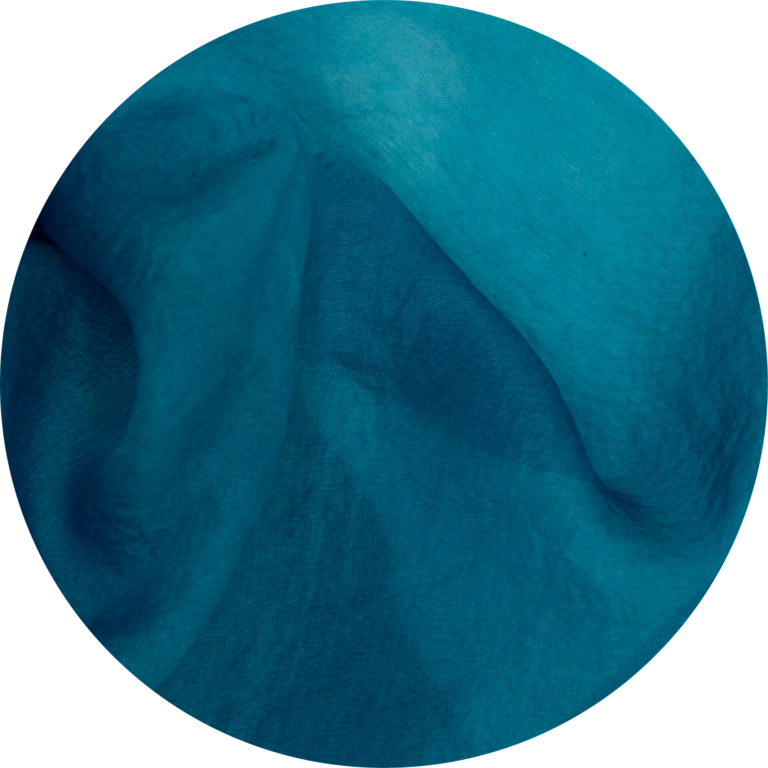
Its colorful superpower is hidden within the leaves. The strong pigments, significant to the Japanese indigo, only appear when the green leaves are crushed and come into contact with oxygen. In fact, the leaves can also produce stunning shades of yellow, pink and green.
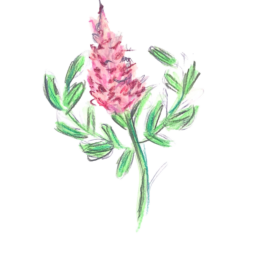
Japanese indigo is a social plant, networking underground by tangling and interlocking its long roots with neighbouring plants in the soil. By growing together in groups, the bushy nature of the Japanese indigo really shows off. At its tip, between all the leaves, you may find white and pink flowers blooming.
As an expat around here, the Japanese indigo has been adapting to life in the Netherlands for several centuries and grows well in these temperate regions. While the indigo blue color can be found in various plants in different parts of the world, the persicaria tinctoria has historically mainly been used as a dye plant in Japan and Southeast Asia.

planting period
February – March
harvest period
midsummer to mid-fall
soil
pH 6-7
nitrogen-rich
sun
full to partial sun
water
every 2-3 days in well-drained soil
planting
0.6 cm deep + lightly covered with soil
30-45 cm apart
germination
cold stratification: Place seeds in a sealed bag along with a moistened paper towel and refrigerate for 2-4 weeks. The seeds can be directly sown outdoors or started indoors and transplanted later. Before sowing, prepare the soil by loosening it. Scatter the seeds evenly over the prepared soil surface. Seeds can also be sown in seedling trays or pots. Planted directly into the ground, germination should take about 7-14 days.
maintenance
pinch out the preliminary center leaves, encouraging the plants to bush and form further root formation. Applying a layer of organic mulch around the base of the plant can help preserve the moisture within the soil, regulate its temperature and reduce weed growth. Do this 3 weeks after potting or right before planting into the ground.For indigo dyeing purposes, also pinch out emerging flowers as they will stop the production of indigo within the leaves.
leaf harvest
cut plants 10-15 cm above the ground or pinch leaves from the stem. Make sure to leave enough foliage intact for regrowth.
seed harvest
remove seed heads from the plant when they turn brown and dry. Place in a clean, dry container or paper bag. Shake or rub the seed heads to release the seeds. Discard any damaged or shrivelled seeds and store the remaining in a cool, dry place.
alum
alum
alum
alum
alum
alum
alum
alum
alum
alum
alum
alum
Create a mixture of 100ml to 1 teaspoon of lime
!Warning! it is crucial to add the water first into the mixing container then add the lime powder the mixture can explode doing it the other way around.
Continue this process till the mixture has become a deeper blue color and you see white foam on top.
(Check the ph- level, this should be around 10 for the vat to start seperating.)
Close the containers to let the pigment seperate for 12-24h
Carefully screen off the supernatant sitting on top.
Pour the remaining liquid holding the pigment, into a sieve prepared with a coffee filter or thightly woven cloth.
Add an acidic componenent (f.e. white vinegar) to the supernatant to bring the ph-level back to 7 for a safe disposal.
Keep the remaining pigment in the filter in a warm spot yet out of direct sunlight till its dried out completely.
The remaining content can be grinded into a fine powder and stored till use.